Road Pavement
Road Pavement Maintenance: Ensuring Longevity and Performance
Road pavement serves a critical role in modern infrastructure, providing a durable surface for vehicles and pedestrians to travel upon. This essential aspect of transportation design encompasses a variety of materials and construction techniques to create roadways that can withstand the demands of traffic and weather. The history of road pavement reflects a continuous evolution, adapting to the needs of growing traffic volumes and the advancement of pavement technology.

Different types of pavement, such as flexible (asphalt) and rigid (concrete), each have unique attributes that make them suitable for specific circumstances and environments. Understanding the material composition and design principles is vital for engineers and planners to construct roads that not only facilitate smooth and safe travel but are also cost-effective and sustainable. Moreover, the performance of pavement is regularly analyzed to ensure longevity and to determine when maintenance and rehabilitation are necessary, taking into account environmental and economic factors.
Key Takeaways
- Road pavements are integral to transportation, adapting to evolving demands and technologies.
- Various pavement materials and types are utilized to address specific roadway requirements.
- Effective design, analysis, and maintenance are key to sustaining pavement performance and service life.
History and Evolution of Road Pavement
The development of road pavement technology is a testament to human innovation, from early stone-paved roads in Ur to sophisticated modern highways. This evolutionary journey reflects the continual pursuit of more durable, efficient, and safer roads.
Early Road Construction
The first known roads were stone-paved, originating in regions such as Ur in modern-day Iraq around 4000 BC. These early construction efforts set the foundation for future advancements in road building. The Romans played a vital role, enhancing road durability and introducing milestones and drainage systems. Their fabled network facilitated military and trade operations across the empire, with the Appian Way being a notable example of their engineering prowess.
In the 18th century, turnpike roads emerged, charging tolls to recoup the cost of maintenance. Notable British engineer Thomas Telford made significant improvements to road construction methods, including the use of large, flat stones for the road base covered with a layer of smaller stones.
Modern Developments
Macadam roads, named after Scottish engineer John Loudon McAdam, transformed early pavement technology in the 19th century. These were constructed using crushed stone of a specific size laid in layers and compacted. The introduction of tar-bound macadam, better known as tarmacadam, provided a smoother, more weather-resistant surface.
Modern road construction has seen the expansion of highways designed to facilitate high-speed travel and accommodate the ever-growing volume of vehicular traffic. Innovations like perpetual pavement, a multi-layered, durable structure, and advanced materials have led to longer-lasting, less maintenance-intensive pavements.
Pavement Types
Pavement design is critical in ensuring the longevity and functionality of roadways. The selection between the two primary pavement types directly impacts the performance and maintenance requirements for any given roadway.
Flexible Pavements
Flexible pavements are composed primarily of asphalt concrete and are designed to flex or “give” with slight settlement of the subgrade. These pavements are constructed using several layers of materials, including a top layer of asphalt. This layered design distributes vehicle loads over a wider area of the subgrade. The characteristics of flexible pavements include their ability to withstand temporary deformations and their reliance on the combined strength of layered materials such as asphalt concrete and bituminous pavement.
- Structure: Typically constructed in layers.
- Surface Course: Asphalt concrete
- Base Courses: Usually aggregate
- Subbase Courses: Compacted soil
- Subgrade: Natural soil prepared to support pavement
Rigid Pavements
Rigid pavements, on the other hand, utilize Portland cement concrete (PCC) in their construction and are known for their rigidity and high stiffness. This inflexibility allows them to spread loads over a larger area of the subgrade compared to flexible pavements. Joints are a critical feature, placed to control cracking and to allow for expansion and contraction due to temperature changes. The durability and strength of rigid pavements make them suitable for high-load environments.
- Composition: Often a single layer, but can include multiple layers.
- Surface Course: Portland cement concrete pavement
- Base/Subbase Courses: May be present depending on design
- Features: Joints to control pavement cracking.
Material Composition
The material composition of road pavement is fundamental to its performance and durability. Selecting appropriate materials for the soil and subgrade, aggregates, and binders is crucial for the longevity and resilience of the pavement structure.
Soil and Subgrade
The foundation of road pavement begins with the soil and subgrade, which is the natural soil layer prepared to support the pavement. The subgrade should consist of well-compacted soil with sufficient bearing capacity. Stabilization with lime or cement can be necessary to enhance the soil’s properties, particularly if the soil is too plastic or lacks strength. Construction engineers assess the soil texture, which often includes sand, silt, and clay, to determine the need for additional stabilization measures.
Aggregate Materials
Aggregate materials play a crucial role in road pavement, providing strength and structure. They typically include a mix of sand, gravel, fine aggregate, and coarse aggregate. The selection of aggregate is based on size and composition to meet the requirements for the layer of pavement being constructed. For the surface course, aggregates need to be highly resistant to wearing and provide a smooth finish for traffic, while base and subbase layers need aggregates that offer excellent compaction and load distribution.
Binders and Bituminous Materials
Binders are key to holding the aggregates together, creating a cohesive pavement structure. The choice of binder depends on the type of pavement and can include asphalt, tar, or cement. Asphalt, known as bituminous material, is the most common binder for flexible pavement and is composed of hydrocarbons that offer waterproofing and adhesive properties. Concrete serves as a rigid binder in pavements, providing a harder, more durable surface. Special coatings, such as binder coat and tack coat, may be applied between layers to improve adhesion. Tarmac is a specific type of pavement known for its durability and is made using tar as the binder mixed with aggregates.
Each material used in the construction of road pavement must be carefully selected and tested to ensure that it meets the structural and functional requirements of the pavement design.
Design and Construction
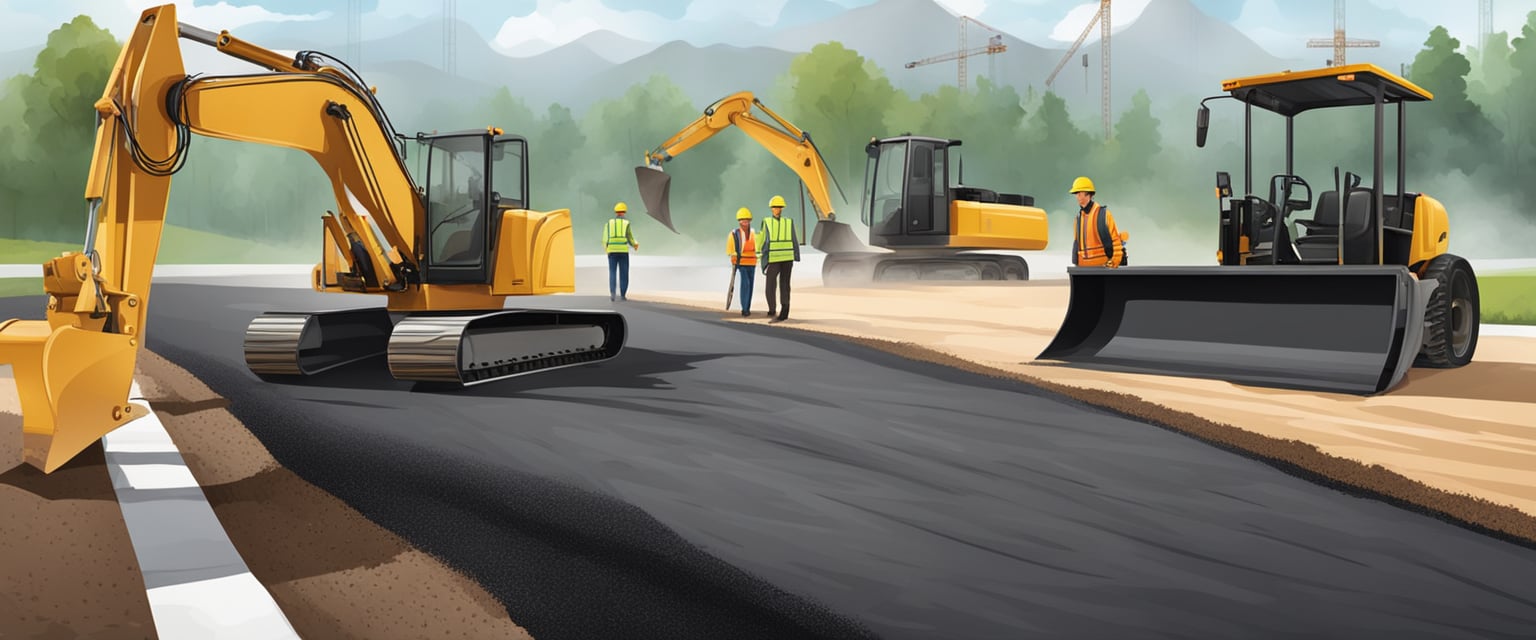
The Design and Construction section of road pavement focuses on creating durable and cost-effective structures capable of withstanding various loads and environmental conditions. The design principles lay the foundation for ensuring strength and longevity, while construction processes translate these plans into physical roads.
Pavement Design Principles
Pavement design in civil engineering involves detailed planning to achieve the required strength and durability for the intended use of the roadway. Conventional layered flexible pavement systems consist of a sub-base, a base course, and a surface course, each contributing to the overall structural integrity. The sub-base provides a stable foundation to distribute traffic loads to the underlying soils. The base course typically consists of crushed aggregate offering additional support and load distribution. The surface course is the top layer, composed of asphalt or concrete, providing a smooth and skid-resistant layer. For heavy-duty applications, full-depth asphalt pavements or a contained rock asphalt mat might be used, eliminating the need for a base and sub-base.
Innovative methods and materials are continuously integrated to improve pavement performance. Dowel bars can be inserted in concrete pavements to transfer load across joints, ensuring a seamless transition and preventing faulting. With advancements in technology, engineers can tailor pavement structures to local conditions, traffic patterns, and materials available, while meeting stringent specifications.
Construction Processes
The construction phase turns the pavement design into reality, involving meticulous steps to meet the detailed specifications provided in the design documents. Initially, the site is prepared by grading or excavating to achieve the proper contour and elevation required for the pavement structure. Construction begins with the sub-base layer, which is critical for the longevity of the pavement structure, as it must provide uniform support to the layers above it.
Next is laying down the base course, typically made of a different material and designed to further distribute traffic loads. Finally, the surface course is applied; for asphalt pavements, this includes spreading and compacting hot mix asphalt to the desired thickness and smoothness. In the case of concrete pavements, concrete is poured, shaped, and finished to create a hard, smooth surface; dowel bars are placed at the joints during the pour to help with load transfer. The process must be managed carefully to ensure that each layer bonds properly to the next, preventing future maintenance issues.
Throughout construction, materials and processes are subject to rigorous testing to ensure compliance with design intent and longevity of the roadway.
Pavement Analysis and Performance
Analyzing and predicting pavement performance requires a detailed understanding of how pavements distribute loads, their strength and durability, and the common modes of pavement failures. Accurate assessment of these factors ensures the longevity of road infrastructure and safety for the public.
Load Distribution
The way a pavement disperses vehicular loads across its layers and to the subgrade soil is critical in design and performance. Load distribution is influenced by the structural composition of pavement, including the thickness and materials used for each layer. Effective designs reduce stress on the subgrade and prolong the life of the pavement by minimizing fatigue and settlement.
Strength and Durability
Pavement strength is essential for withstanding repetitive traffic loads over time without succumbing to wear or deformation. It hinges on the quality of pavement materials and the resilience of subgrade soils. Durability, on the other hand, refers to pavement’s ability to resist weathering, oxidation, and damage from environmental factors. High durability ensures that pavements maintain their desired performance characteristics even under adverse conditions.
Pavement Failures
Pavement failures encompass a range of distresses such as cracks, ruts, and potholes, which reflect the weakening or malfunctioning of one or more pavement layers. These failures are symptomatic of structural insufficiencies, material degradation, or excessive load stress. Understanding the factors that contribute to pavement failures supports the development of more accurate prediction models and the implementation of preventative maintenance strategies.
Surface Characteristics
Pavement surface characteristics relate critically to both safety and longevity of road infrastructure. They directly affect vehicular control and are central to the design and maintenance of roads.
Texture and Skid Resistance
The texture of pavement surfaces plays a fundamental role in providing skid resistance, which is vital for vehicular safety. A road’s surface texture ensures that vehicles maintain traction during operation, particularly in adverse weather conditions. A key aspect of skid resistance is the coefficient of friction between a vehicle’s tires and the pavement; higher coefficients indicate better traction. Studies, including the one titled Current Perspectives on Pavement Surface Characteristics, show that microtexture and macrotexture are two scales that define the pavement’s frictional properties. A well-designed pavement has adequate surface roughness to prevent skidding and ensure vehicle control.
- Microtexture: provides grip at the tire-pavement interface at a microscopic level.
- Macrotexture: drains water from between the tire and pavement, preserving traction during wet conditions.
Textured surfaces not only enhance safety but are also designed to be dustproof to maintain the intended levels of skid resistance over time.
Wearing and Surface Course
The wearing course is the topmost layer of pavement experienced directly by vehicles. It needs to combine durability with a smooth surface to deliver a comfortable and safe driving experience. The surface course is engineered to resist abrasion and weathering, therefore preventing the disintegration of the road surface. An example provided by the National Academies of Sciences discusses how the surface course should allow for efficient water drainage and reduce the spray generated by moving vehicles, which increases visibility and safety during wet conditions.
In the construction of pavement, materials used for the wearing course are selected for their ability to:
- Provide a smooth surface that attenuates noise and reduces vehicle wear.
- Offer durability to extend the lifespan of the road.
- Maintain a level of friction consistent with safety requirements.
Selecting the appropriate materials for the wearing and surface course, and ensuring they work in concert with the road’s overall texture, is crucial for a road’s performance and sustainability.
Maintenance and Rehabilitation
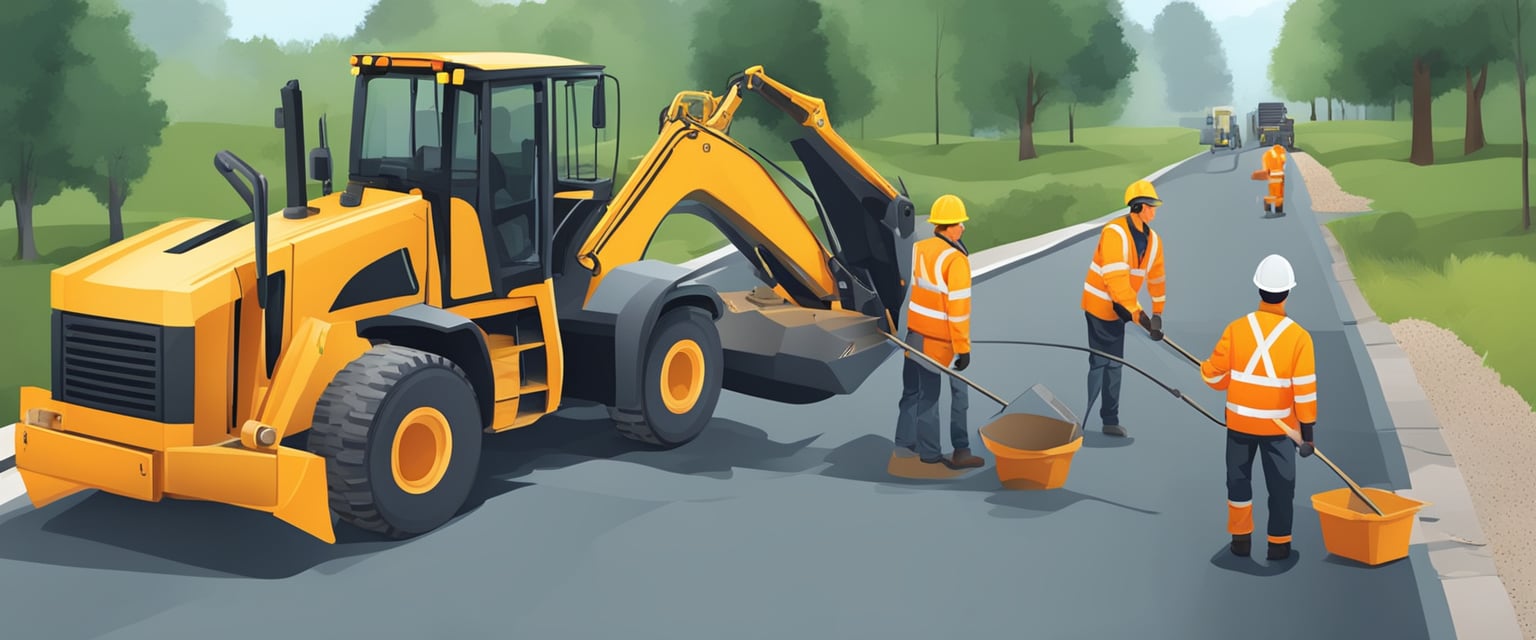
Maintenance and rehabilitation are essential to prolong the service life of road pavement. Effective strategies in these areas ensure that the road surface remains safe, functional, and less prone to long-term degradation.
Routine Maintenance
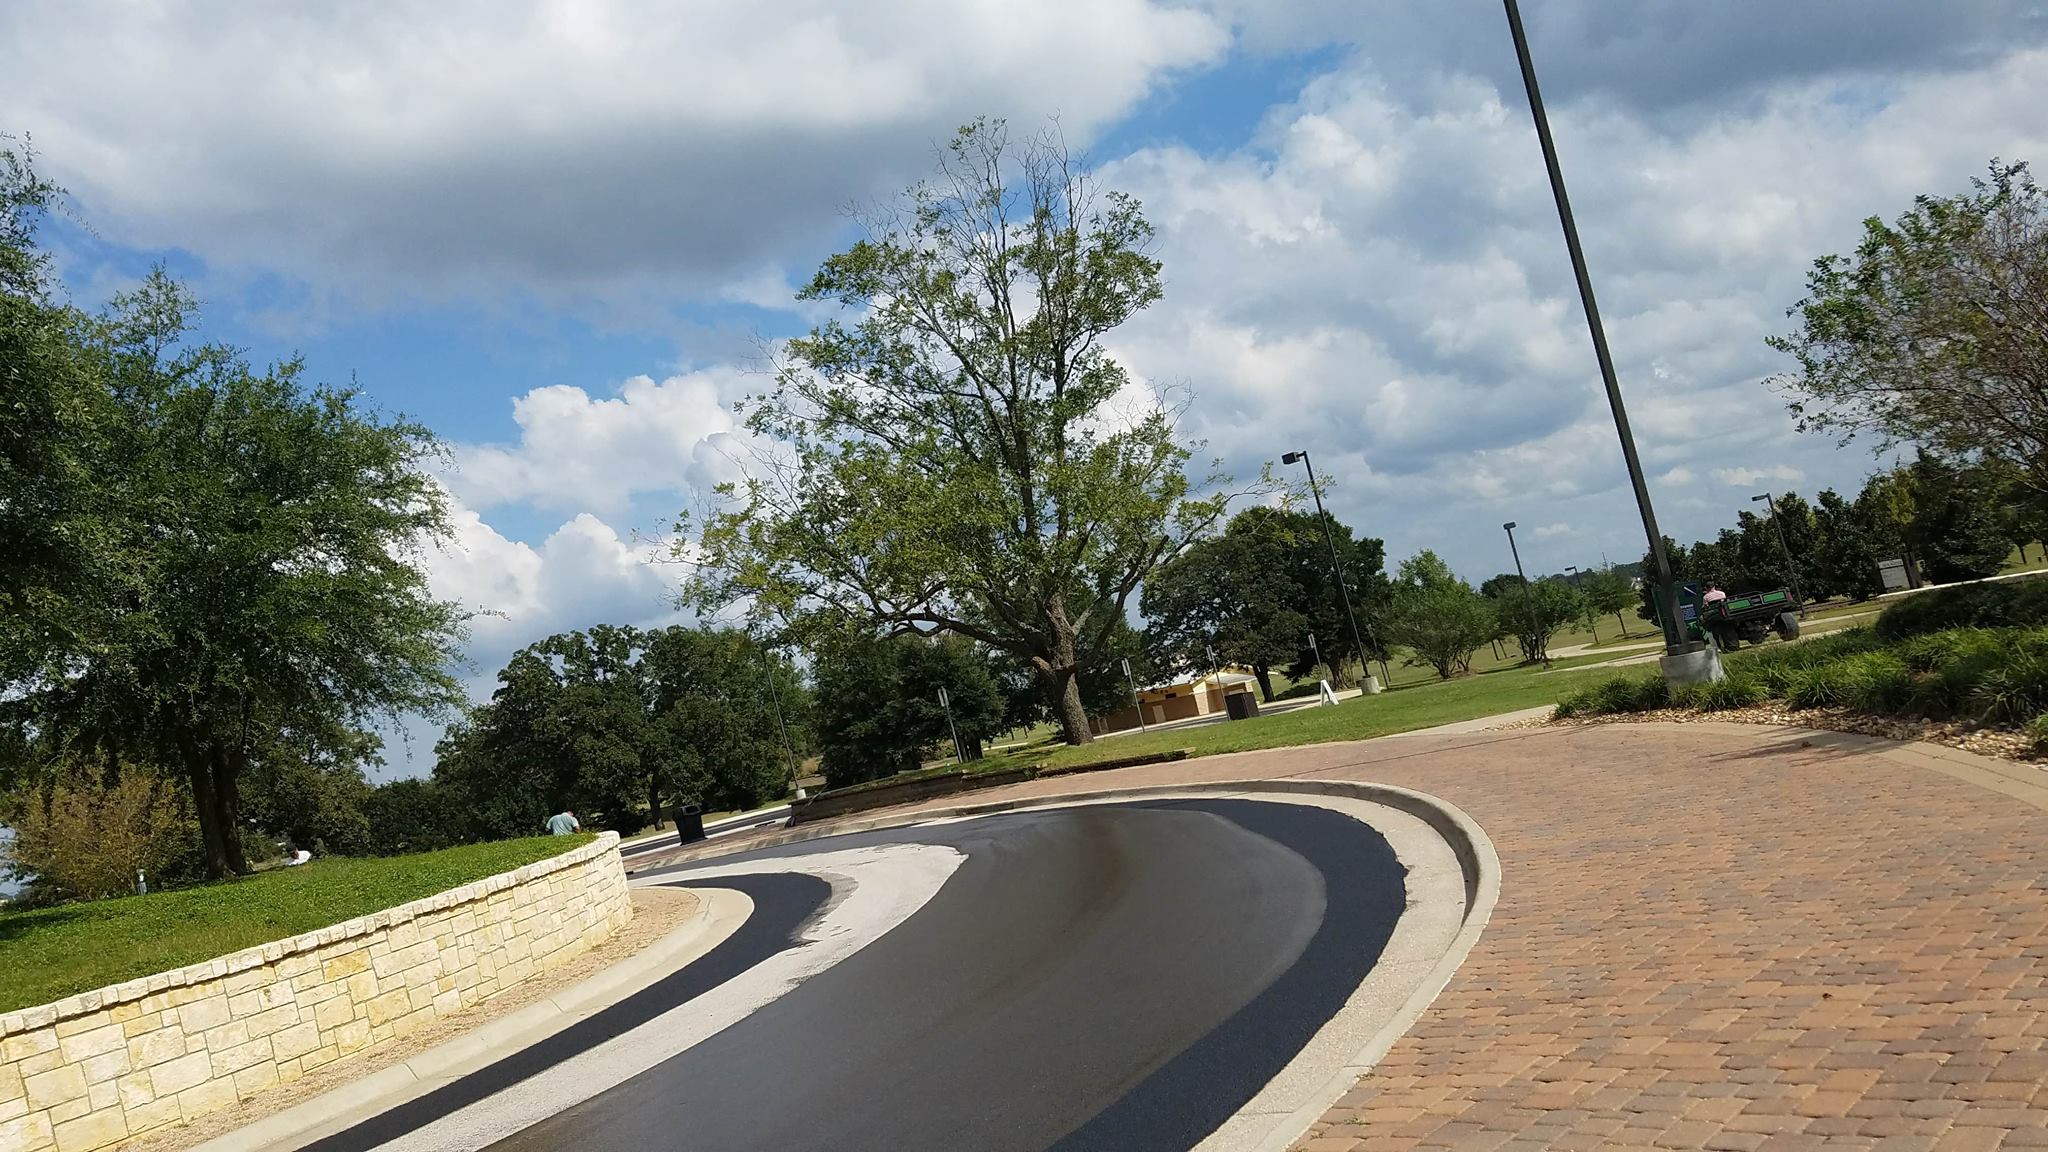
Routine maintenance involves regular inspections and prompt repairs that preserve the condition of the pavement. For example, applying a slurry seal is a common procedure to protect and extend the life of the pavement surface. This preventive measure:
- Seals small cracks and prevents water ingress
- Improves surface texture and friction for safer driving conditions
- Delays the need for more intensive structural maintenance
Structural Maintenance
Structural maintenance addresses the deeper issues that affect the pavement construction and its overall integrity. It often involves:
- Removing and replacing damaged layers of the pavement
- Strengthening pavement to cater to increased traffic loads
- Employing techniques to restore pavement structural capacity
This form of maintenance is crucial for enhancing long-term pavement performance, mitigating extensive damage, and ensuring cost-effective management of road infrastructure.
Environmental and Economic Aspects

The examination of road pavement from environmental and economic perspectives is increasingly important, particularly as urban areas continue to expand and vehicular traffic intensifies. Effective pavement management seeks to balance sustainability with economic practicality, all while adhering to recognized standards.
Sustainability in Pavement
Sustainability in pavement encompasses practices that minimize environmental impacts through the entire lifecycle of the pavement. This includes using materials and processes that are resource-efficient and environmentally responsible. Researchers aim to improve pavement sustainability by various means, such as reducing the consumption of virgin materials and enhancing recycling efforts. Moreover, the incorporation of life cycle assessments (LCA) into pavement design and maintenance helps to ensure that long-term environmental outcomes are taken into account.
Cost and Economics
When assessing the economics of road pavements, Life Cycle Cost Analysis (LCCA) is a critical tool. It aids in determining the most cost-effective options considering both initial and long-term financial impacts. For sound economic decisions, it is essential to implement pavement management plans that integrate costs with considerations for social equity and environmental effects. Cities must establish standards that both meet budget constraints and address increasing urban transportation needs.
Innovations in Pavement Technology

Pavement technology has progressed, offering enhanced durability and comfort for urban infrastructure. These developments have also shown positive economic implications, adhering to strict performance standards and specifications.
New Materials and Techniques
Innovative materials and methods are transforming how pavements are constructed and maintained. Noise-reducing asphalt, for example, provides an acoustically preferable urban environment and has emerged as a cost-effective alternative to traditional sound wall barriers. Improvements in asphalt mixes and designs allow for longer-lasting roads, reducing the frequency and cost of repairs. The industry has observed a push toward the use of recycled materials, such as rubber from old tires, which benefits the environment and provides a new layer of resilience to pavement structures.
Techniques Innovations:
- Cool Pavements: Reflective surfaces that decrease urban heat islands.
- Porous Asphalt: Solutions for better water drainage and reduced splash in heavy rain.
Quality and Performance Standards
The emphasis on innovation extends to raising the bar for quality and performance standards. Enhanced testing procedures are in place to ensure that new pavement technologies not only meet but exceed current durability and safety expectations. The sector is moving toward a standardized approach to measure and rate the performance of pavement materials over time, which includes how they stand up to traffic loads and environmental conditions. As a result, specifications for pavement materials and construction practices are becoming more rigorous, leading to roads that can support heavier loads and last longer without significant degradation.
Standards and Specifications:
- Durability: Measures against cracking, rutting, and aging.
- Comfort: Focus on smoother surfaces for a comfortable ride.
- Economics: Efficient construction methods that lower costs and extend pavement lifespans.
By utilizing these innovations, pavement technology is creating infrastructures that are not only advanced in their construction but also in their long-term functionality and sustainability.
Applications Beyond Roads
Geogrids and reinforced paving methods, while primarily utilized in road construction, also extend their functionality to other structural surfaces. These applications provide stability and durability in a variety of urban and pedestrian contexts.
Urban Spaces
Urban spaces often employ geogrids and pavement stabilization technologies to support structures that withstand heavy usage. Public squares and outdoor market areas integrate materials like bricks, flagstone, and artificial stone to cater to both aesthetic demands and utilitarian needs. The choice of material, whether it’s brick or stone, balances urban architectural styles with the practicality needed for high foot traffic areas.
Pedestrian Areas
Pedestrian areas require surfaces that prioritize safety and comfort for those walking. Sidewalks and walkways, for instance, might use a combination of flagstone, tiles, or wood, creating visually pleasing patterns that are also functional. In high traffic zones, pavements must offer durability and low maintenance, making artificial stone a frequent choice due to its resistance to wear and minimal need for upkeep.
Frequently Asked Questions

The section seeks to address specific inquiries about the composition, construction, and characteristics of road pavements, underscoring both the materials used and the nuances between different pavement types.
What materials are commonly used for road surfacing?
Various materials are employed for road surfacing, including asphalt and concrete as dominant choices, due to their durability and cost-effectiveness. Less commonly, surfacing can also involve materials like gravel and bituminous solutions for different traffic and climatic conditions.
What are the different layers that make up a typical road pavement structure?
A typical road pavement structure is composed of several layers: the subgrade as the foundation soil; the subbase providing a supportive layer; the base course made of crushed stones; and the surface layer which is often asphalt or concrete.
How does the construction process of road pavement differ between flexible and rigid types?
In constructing flexible pavement, layers of materials which flex under load are placed over the subgrade, with asphalt being a primary component. Rigid pavement, typically involving concrete, is constructed with a single slab that distributes loads over a larger area, requiring less reliance on the subgrade for support.
What are the various methods used for surfacing roads, and how do they compare?
Road surfacing methods include hot mix asphalt paving, known for its resilience and easy maintenance, and concrete slab placement, renowned for its longevity and environmentally friendly aspects. These methods are weighed based on cost, climate, traffic patterns, and longevity in performance.
Can you explain the main differences between flexible and rigid pavements?
Flexible pavements are designed to bend and distribute loads across the layer of materials, typically using a mix that includes asphalt. Rigid pavements, conversely, are mainly composed of concrete and are characterized by their stiffness and capacity to spread the load over a wider area of the subgrade.
How does the surface material of a road affect its durability and performance?
The surface material of a road has a significant impact on its durability and performance; asphalt surfaces offer noise reduction and flexibility, while concrete surfaces provide excellent longevity and reflectivity, aiding in night-time visibility. The material’s interaction with environmental conditions and traffic plays a crucial role in the road’s lifespan and maintenance needs.


