
Driveway Crack Repair
Driveway Crack Repair: Essential Tips for a Durable Surface
Maintaining the integrity of a driveway is essential for ensuring the longevity of the pavement and the aesthetic appeal of the property. Over time, driveways made from asphalt or concrete can develop cracks due to a variety of factors including weather changes, ground movement, and heavy loads. Addressing these cracks promptly can prevent further damage, which in turn can avoid more costly repairs down the line. The process typically involves cleaning, preparing the crack, and then filling it with a suitable material to restore the surface.
Repairing driveway cracks can be approached as a do-it-yourself project or by hiring professional services. Each option has its pros and cons regarding cost, time, and the level of expertise required. While minor cracks can often be successfully repaired by homeowners using products available at home improvement stores, deeper or more extensive damage may necessitate the skills and equipment of a professional contractor. Whichever route is chosen, it’s important to assess the type of material the driveway is composed of, as asphalt and concrete repairs involve different products and techniques.
Key Takeaways
- Timely repair of driveway cracks prevents more extensive damage.
- Choose between DIY repair or professional services based on the crack’s severity.
- Consider the driveway material when selecting repair methods and products.
Understanding Driveway Cracks
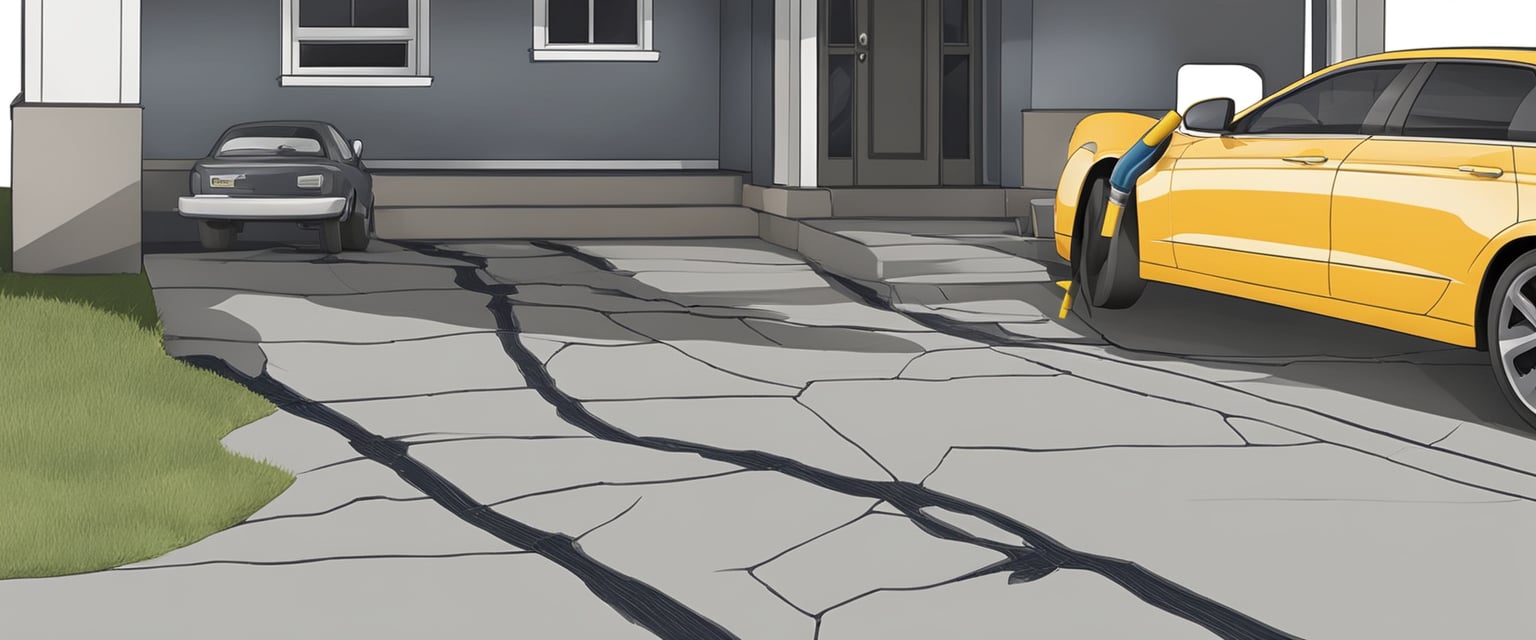
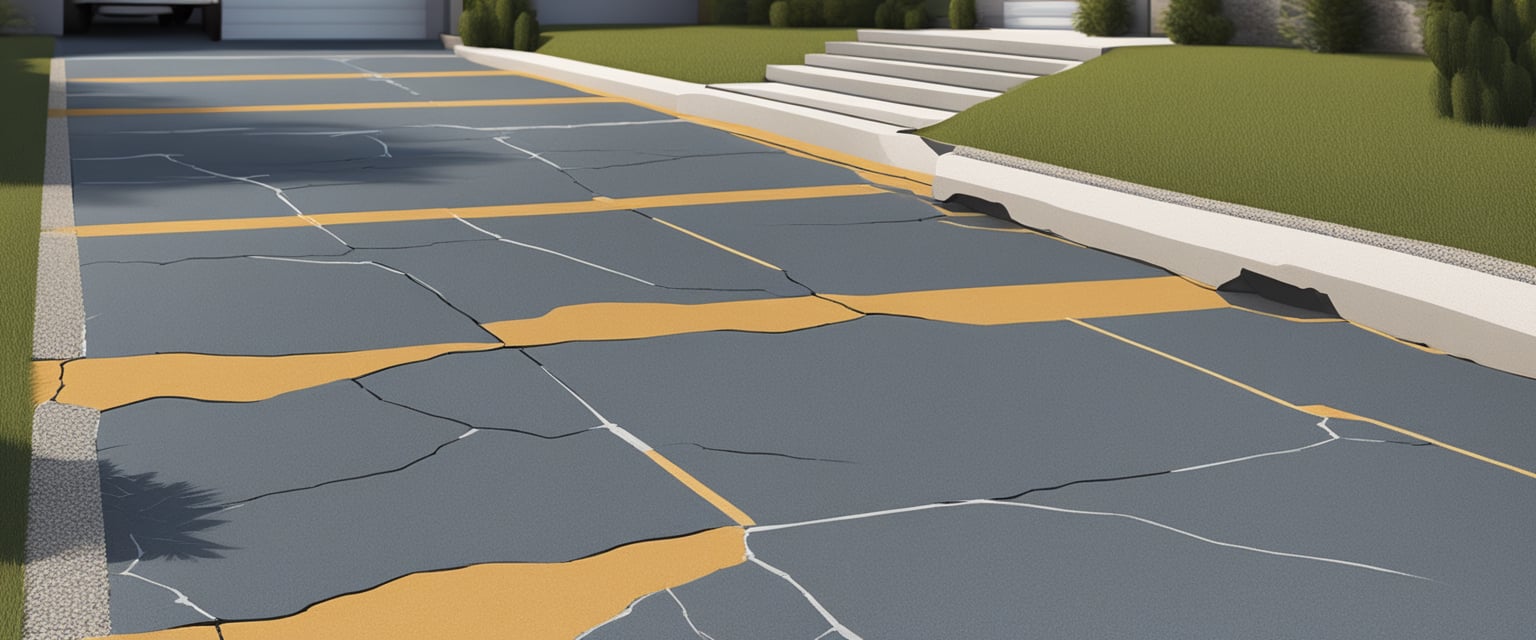
Repairing driveway cracks is essential for maintaining the integrity and appearance of concrete and asphalt driveways. Identifying the types of cracks and understanding their common causes is the first step towards effective repair.
Types of Driveway Cracks
- Hairline Cracks: These are thin surface breaks that may not signify substantial damage.
- Plastic Shrinkage Cracks: Typically appearing soon after installation, these are caused by the concrete drying too quickly.
- Heaving Cracks: Resulting from the ground expanding and contracting, often due to freeze/thaw cycles.
- Settling Cracks: Occur when the ground beneath the driveway wasn’t compacted properly and settles over time.
- Tree Root Cracks: These are caused when tree roots grow underneath and exert pressure, leading to raised or cracked areas.
Common Causes of Cracks
- Concrete Cracking is often a natural result of the material’s aging process, responding to temperature changes.
- Freeze/Thaw Cycles: In colder climates, water seeps into minor cracks, expands when frozen, and widens the cracks upon thawing.
- Ground Movement: Earth settling or heavy loads can shift the soil beneath a driveway, causing cracks.
- Inadequate Installation: Poor construction practices, like improper concrete mixing or inadequate base preparation for asphalt, can lead to early cracking.
- Heavy Load Stress: Continuous stress from heavy vehicles can cause both concrete and asphalt to crack and deteriorate more quickly.
By recognizing the types of driveway cracks and their underlying causes, homeowners can take informed steps towards proper maintenance and repair.
Driveway Crack Repair Methods
Repairing driveway cracks is a crucial part of maintaining a concrete driveway. Specific methods vary based on the size and severity of the cracks, but regardless of the type, early and proper repair is key to preventing further deterioration.
Assessing the Crack Size
Before beginning any driveway repair, one must accurately assess the size of the cracks. Hairline cracks are less than a quarter-inch wide, while large cracks exceed this width. Understanding the crack size is essential as it determines the repair material and method to be used.
Preparation for Repair
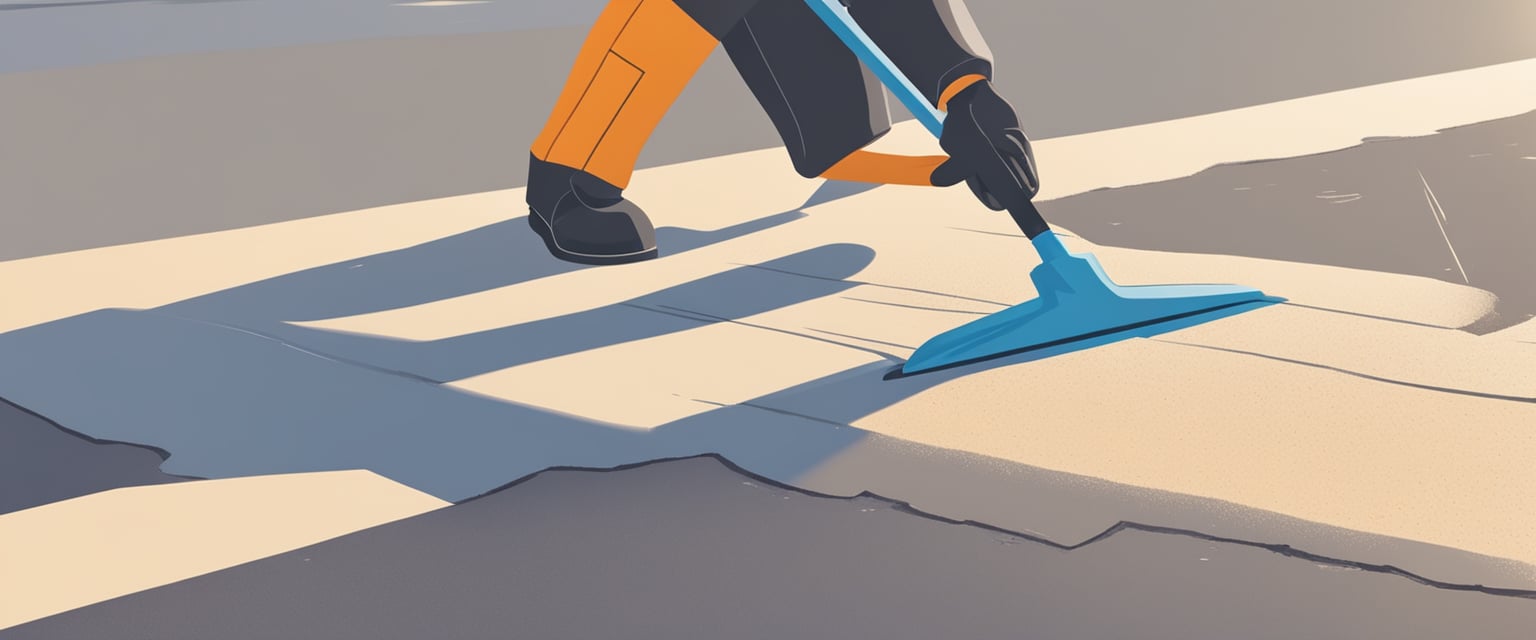
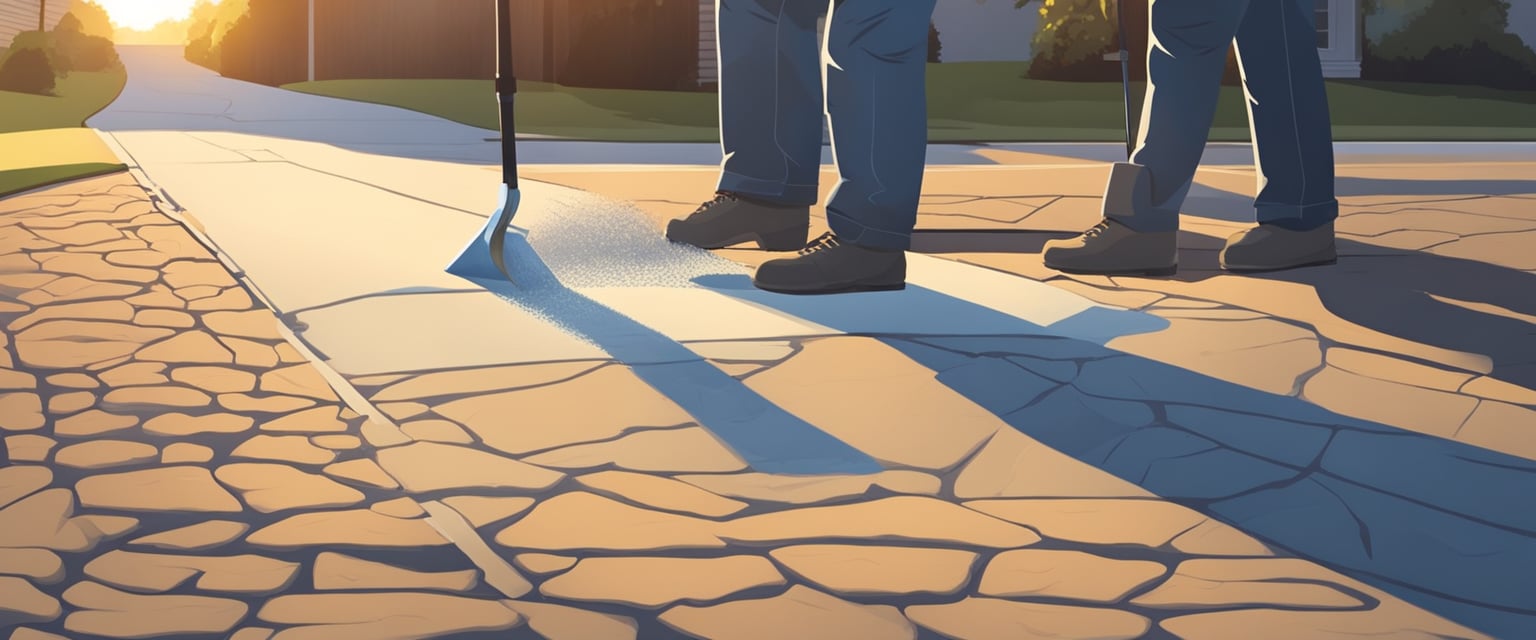
Proper preparation ensures that the repair materials adhere correctly to the existing driveway. This involves cleaning the driveway cracks of any loose debris, dirt, oil stains, or vegetation. A pressure washer is effective for this purpose, followed by scrubbing any oil stains with a detergent.
Repairing Small Cracks
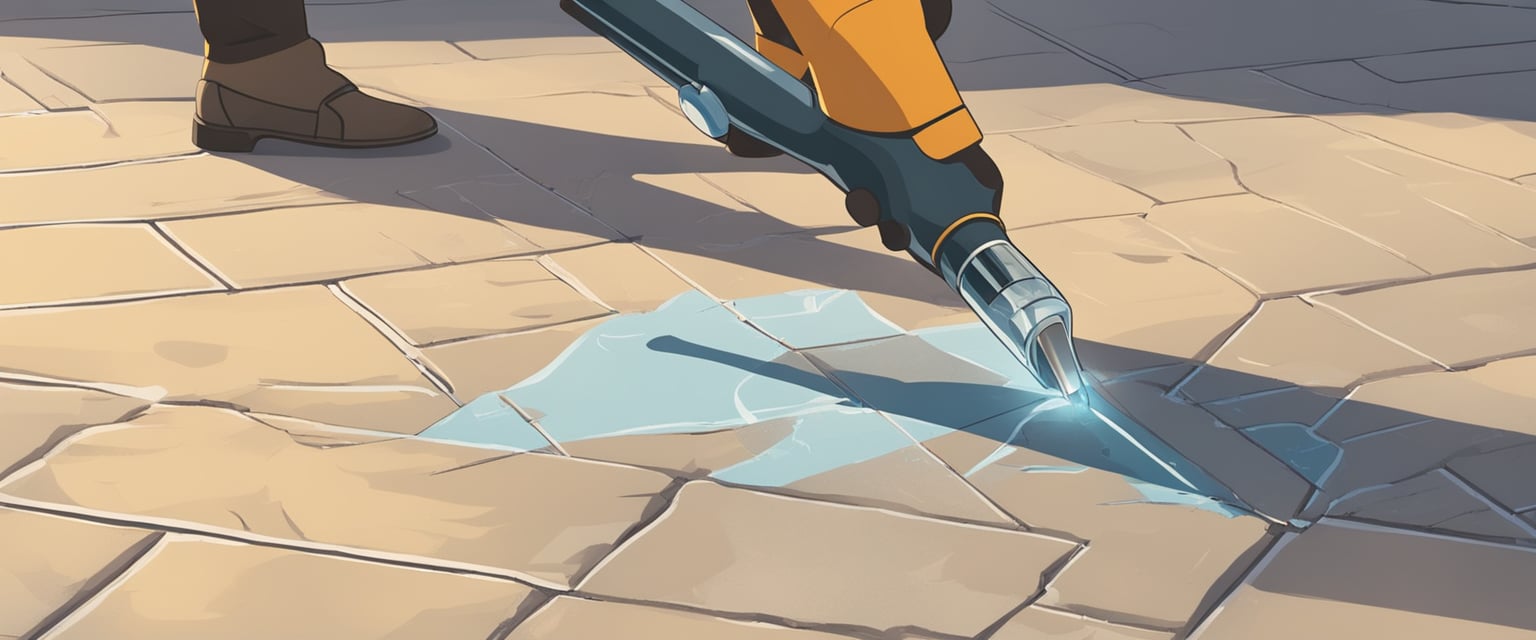
For small or hairline cracks, a crack filler can be used. These fillers are usually ready-to-use and can be applied directly into the cracks. It is vital to follow the manufacturer’s instructions and to apply the filler evenly.
Repairing Large Cracks
Repairing large cracks may require a concrete patch or a mix of concrete repair materials. These often need to be mixed before application. For deeper or wider cracks, preparing the crack by widening it with a chisel or similar tool can ensure the repair material bonds effectively.
Finishing Touches
Once the repair material has cured, it is important to seal the driveway to protect the repair and extend the life of the driveway. Sealing helps prevent water penetration and future freeze-thaw damage to both the repaired cracks and the surrounding concrete.
DIY Driveway Crack Repair
Repairing cracks in a concrete driveway can be a straightforward DIY project that enhances the driveway’s appearance and extends its life. With the proper materials and a step-by-step approach, homeowners can effectively fill and seal driveway cracks.
Materials and Tools Needed
Materials:
- Concrete repair sealant or filler
- Backer rod (for larger cracks)
Tools:
- Pressure washer or garden hose
- Leaf blower or broom
- Wire brush
- Trowel or squeegee
- Caulk gun (for sealant tubes)
- Quikrete (for larger repairs)
Step-by-Step DIY Process
- Cleaning the Driveway:
- Remove all debris and dirt from the cracks using a pressure washer or a hose with a high-pressure nozzle.
- For a thorough clean, a leaf blower can be used to remove any remaining particles.
- Preparing the Cracks:
- Use a wire brush to scrub the cracks, ensuring they are clean and free from loose concrete bits.
- If the cracks are wide, press a backer rod into the crack to provide a base for the sealant.
- Applying the Repair Product:
- For narrow cracks, insert the nozzle of the caulk gun loaded with concrete sealant and fill the crack. For larger cracks, apply Quikrete following the manufacturer’s instructions.
- Use a trowel or squeegee to smooth the sealant over the crack, ensuring it’s well-applied and that no air pockets are left.
Remember to check the weather before beginning your DIY driveway repair project. Dry, warm conditions are ideal for allowing the repair materials to properly adhere and cure.
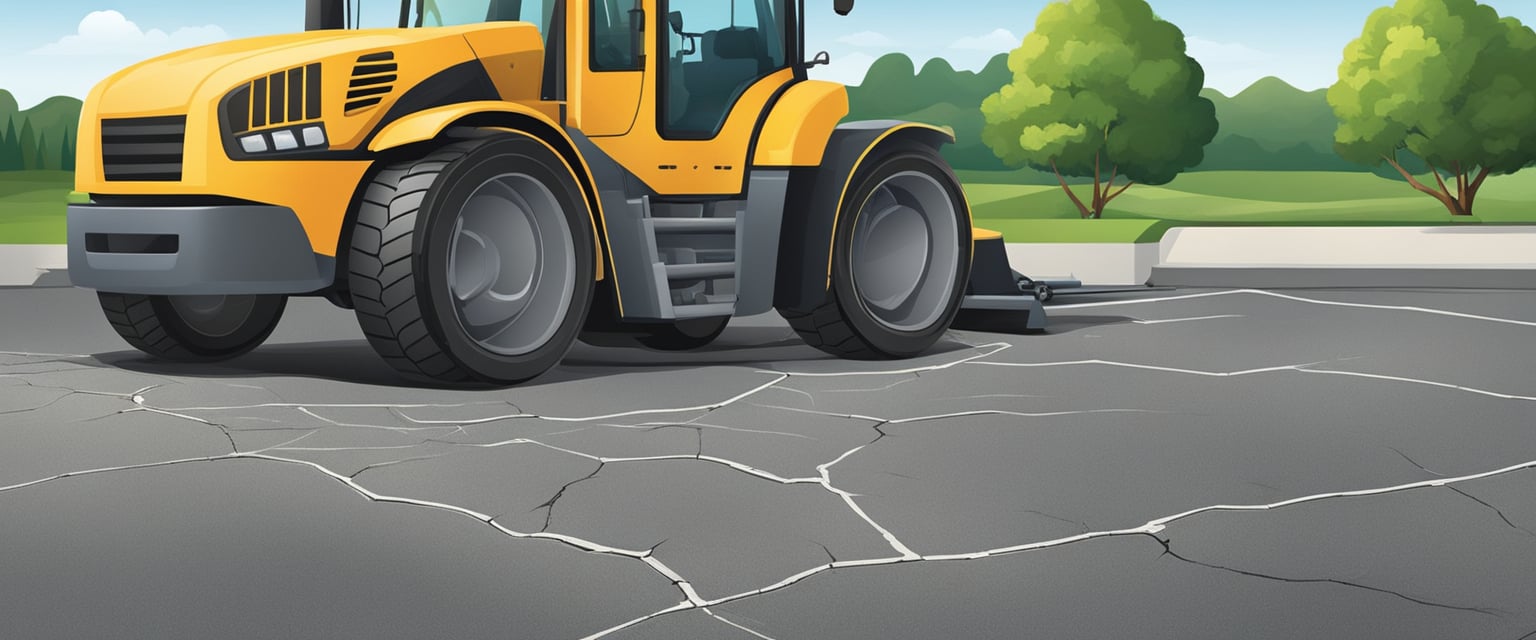
Professional Crack Repair Services
Seeking professional help for driveway crack repair ensures a long-lasting, effective solution. This section details when it’s necessary to call a professional and what homeowners should expect from a contractor’s service.
When to Call a Professional
Homeowners should consider professional services when cracks are wide, deep, or have a pattern that indicates structural issues. Surface-level, hairline cracks can often be treated with DIY methods, but larger cracks leading to potholes or that appear to compromise the concrete’s integrity require a professional assessment. Situations involving underlying soil issues or poor drainage also merit a contractor’s expertise.
What to Expect from a Contractor
Hiring a contractor involves a series of steps that typically begin with an assessment of the damage. The contractor will then offer a detailed plan of the repair work needed, which might include joint sealing or a complete resurfacing. Costs vary: smaller crack repairs can be relatively inexpensive, but larger issues that require more intensive labor or materials, such as a new concrete slab, might be priced between $3,600 and $7,200. The repair process might involve cleaning the area with a concrete cleaner, mixing and applying a vinyl patch, or using commercial-grade products for a durable finish. Homeowners should expect clear communication about the timeline and cost, as well as any necessary aftercare.
Maintaining Your Driveway
Proper maintenance can extend the lifespan of a driveway, whether it is made of plain concrete, compacted gravel, or cobblestone. Preventative strategies, regular upkeep, and sealing are all essential to keeping a driveway in top condition.
Preventative Measures
The best approach to maintaining a driveway is to prevent damage before it starts. Applying driveway sealant can protect the surface from weather-related damage and road salt. It’s crucial to reseal the driveway every few years, depending on local climate and usage. Removing weeds as soon as they appear prevents roots from widening cracks.
Regular Maintenance Tips
Routine care is key to a healthy driveway. Regularly sweeping the driveway with a broom keeps it free of debris that could retain moisture and cause erosion. If sand is used on the driveway during winter months, it should be cleaned up promptly in the spring to avoid the breakdown of the surface material.
- Inspect the driveway monthly for cracks and repair them immediately to prevent water infiltration.
- Always remove oil spills and stains to avoid penetration and degradation of the sealant and concrete.
Resurfacing and Sealing
Over time, the driveway may require resurfacing to address extensive wear or aesthetic concerns. Resurfacing involves applying a new layer of material, like plain concrete or specialized sealant, to make the driveway look new again. Sealing after resurfacing ensures that the fresh surface is protected from the elements and helps in preventing future cracks.
Material-Specific Considerations
The correct approach to driveway crack repair greatly depends on the material of the driveway itself. Each type has unique properties that demand specific repair strategies to ensure durability and maintain curb appeal.
Concrete Driveway
Concrete driveways require a methodical approach to address cracks. For narrow cracks, a flexible polyurethane caulk can be an effective solution. Caulks are available as self-leveling or non-sag types; self-leveling is ideal for horizontal cracks with easy access, while non-sag is better suited for vertical surfaces or cracks that cannot be easily reached. It is important to use a sealant that can accommodate the concrete’s expansion and contraction due to temperature changes.
Asphalt Driveway
Asphalt driveways experience different stresses and therefore need different repair solutions. Cracks in an asphalt driveway can typically be repaired using an asphalt filler. This filler should be a high-quality mixture, preferably rubberized for improved flexibility. The repair material must bond well to the existing asphalt to withstand weather variations and traffic.
Gravel and Alternative Materials
Driveways made of gravel or alternative materials such as pavers or bricks have unique repair considerations. For gravel driveways, it often involves replenishing and redistributing gravel, along with compacting surfaces to prevent further erosion. Driveways with pavers or bricks might need individual replacement of the affected stones. In all cases, ensuring proper drainage and foundation support is crucial to maintaining the integrity of the driveway.
Each material type demands careful selection of repair materials and methods to effectively address cracks and damage, and maintain the driveway’s functionality and aesthetics.
Estimating Repair Costs

When considering the cost of repairing driveway cracks, it’s important to understand the price ranges and elements that contribute to the overall expense. The final repair cost depends on factors like the extent of damage and materials used.
Cost Breakdown
- Materials: Expenses include sealant, primer, and driveway patch materials, which can vary significantly based on the product quality and quantities required.
- Labor: Professional repair services typically charge based on the complexity and size of the task, encompassing the repairing and sealing of cracks.
Here’s a simplified average cost table for materials:
| Material | Average Cost Range |
|---|---|
| Sealant | $0.10 to $0.15 per linear foot |
| Primer | $20 to $80 per gallon |
| Driveway Patch | $10 to $50 per container |
Do note that these prices can fluctuate based on market conditions and local availability.
Factors Affecting Cost
Severity of Damage: Minor cracks often require just a simple sealant, while larger fissures might need driveway patch and more extensive work leading to higher costs.
Driveway Material: Costs can also differ based on the driveway type. Concrete driveways may necessitate a different repair approach compared to asphalt, potentially affecting the price.
Geographic Location: Labor costs are greatly influenced by the region due to the varying cost of living and operation expenses.
For accurate pricing, it’s recommended to obtain multiple estimates from professionals who can assess the specific conditions of the driveway.
Time Frame for Repair
When repairing driveway cracks, timing plays a crucial role. This section breaks down the process into key segments: preparation, drying, and the impact of weather conditions.
Preparation Time
Preparation involves cleaning the cracks and ensuring the surrounding area is ready for the application of driveway crack filler. This step typically takes a few hours but may extend if extensive cleaning is needed.
Drying Time
The drying time for driveway crack filler can vary widely, often from 4 to 48 hours, depending on the product used and the environmental conditions. The repaired area must remain undisturbed during this period.
Optimal Weather Conditions
Ideal temperatures for crack repair are between 50°F and 90°F. Lower humidity facilitates faster drying, hence dry, warm days are preferred to accelerate the process without compromising the quality of the repair.
Safety and Environmental Considerations
When repairing cracks in a driveway, one must consider the safety of those performing the repair as well as the environmental impact of the materials and methods used. The following subsections guide maintaining health and safety and suggest eco-friendly options to mitigate environmental harm.
Health and Safety Tips
Personal Protection: Always wear suitable protective gear such as safety goggles, dust masks, and gloves when repairing driveway cracks. The use of a pressure washer for cleaning out the cracks can propel debris with great force, which poses a risk to eyes and skin.
Handling Materials: When applying sealant, ensure that the work area is well-ventilated to avoid inhaling toxic fumes. Adhering to manufacturer’s guidelines is crucial for safe use. Some sealants may also be flammable; store them away from heat sources and discard any unused material responsibly.
Eco-Friendly Options
Choosing Sealants: Select environmentally friendly sealants, with low volatile organic compound (VOC) content to reduce air pollution. Biodegradable or non-toxic products are preferred.
Repair Longevity: Effective repair methods can limit environmental impact by reducing the frequency of repairs. Inserting a backer rod prior to sealing can enhance the durability of the repair and withstand freezing and thawing cycles, thereby minimizing waste.
By prioritizing health and safety while making eco-conscious choices, one ensures not only a long-lasting repair but also a responsible approach to home maintenance.
Frequently Asked Questions

In navigating the complexities of concrete driveway crack repair, it is crucial to understand the efficacy of various products, the cost implications, and the longevity of repair solutions. These FAQs distill the essentials of driveway maintenance for optimal decision-making.
What are the most effective products for concrete driveway crack repair?
For concrete driveway crack repair, products such as one-part polyurethane sealants and quick-setting concrete mixes are highly effective. These materials offer durability and can accommodate the expansion and contraction of concrete due to temperature changes.
Which driveway repair kits offer the best results for fixing cracks?
Driveway repair kits that include items like high-grade sealants, backer rods, and professional-grade applicators tend to yield the best results. These kits provide a comprehensive solution for addressing various crack sizes and depths in driveways.
How can one inexpensively repair a cracked concrete driveway?
An inexpensive approach to repairing a cracked concrete driveway involves using a combination of DIY repair techniques and cost-effective repair products like caulk-style sealants or vinyl concrete patchers, which are readily available and easy to apply.
What is the average cost to repair cracks in a driveway?
The average cost to repair driveway cracks can vary widely, typically ranging from a small expense for minor DIY repairs to a substantial outlay for extensive professional services, with factors such as crack size and the volume of repairs influencing the total expenditure.
How long can one expect driveway crack fillers to last?
Driveway crack fillers are designed for longevity, but their lifespan can be affected by the quality of the filler, application methods, and environmental conditions. Generally, a well-applied, high-quality sealant can last for several years before a reapplication is necessary.
What criteria should be used to evaluate driveway crack repair services?
When evaluating driveway crack repair services, one should consider the service’s reputation, the quality of materials used, warranty terms, customer reviews, and their willingness to provide detailed cost estimates upfront. Certifications and the use of industry-standard repair techniques are also important benchmarks.

